Your Cart is Empty

Kanvas Beauty Makeup Bag Sewing Pattern - Free PDF Pattern
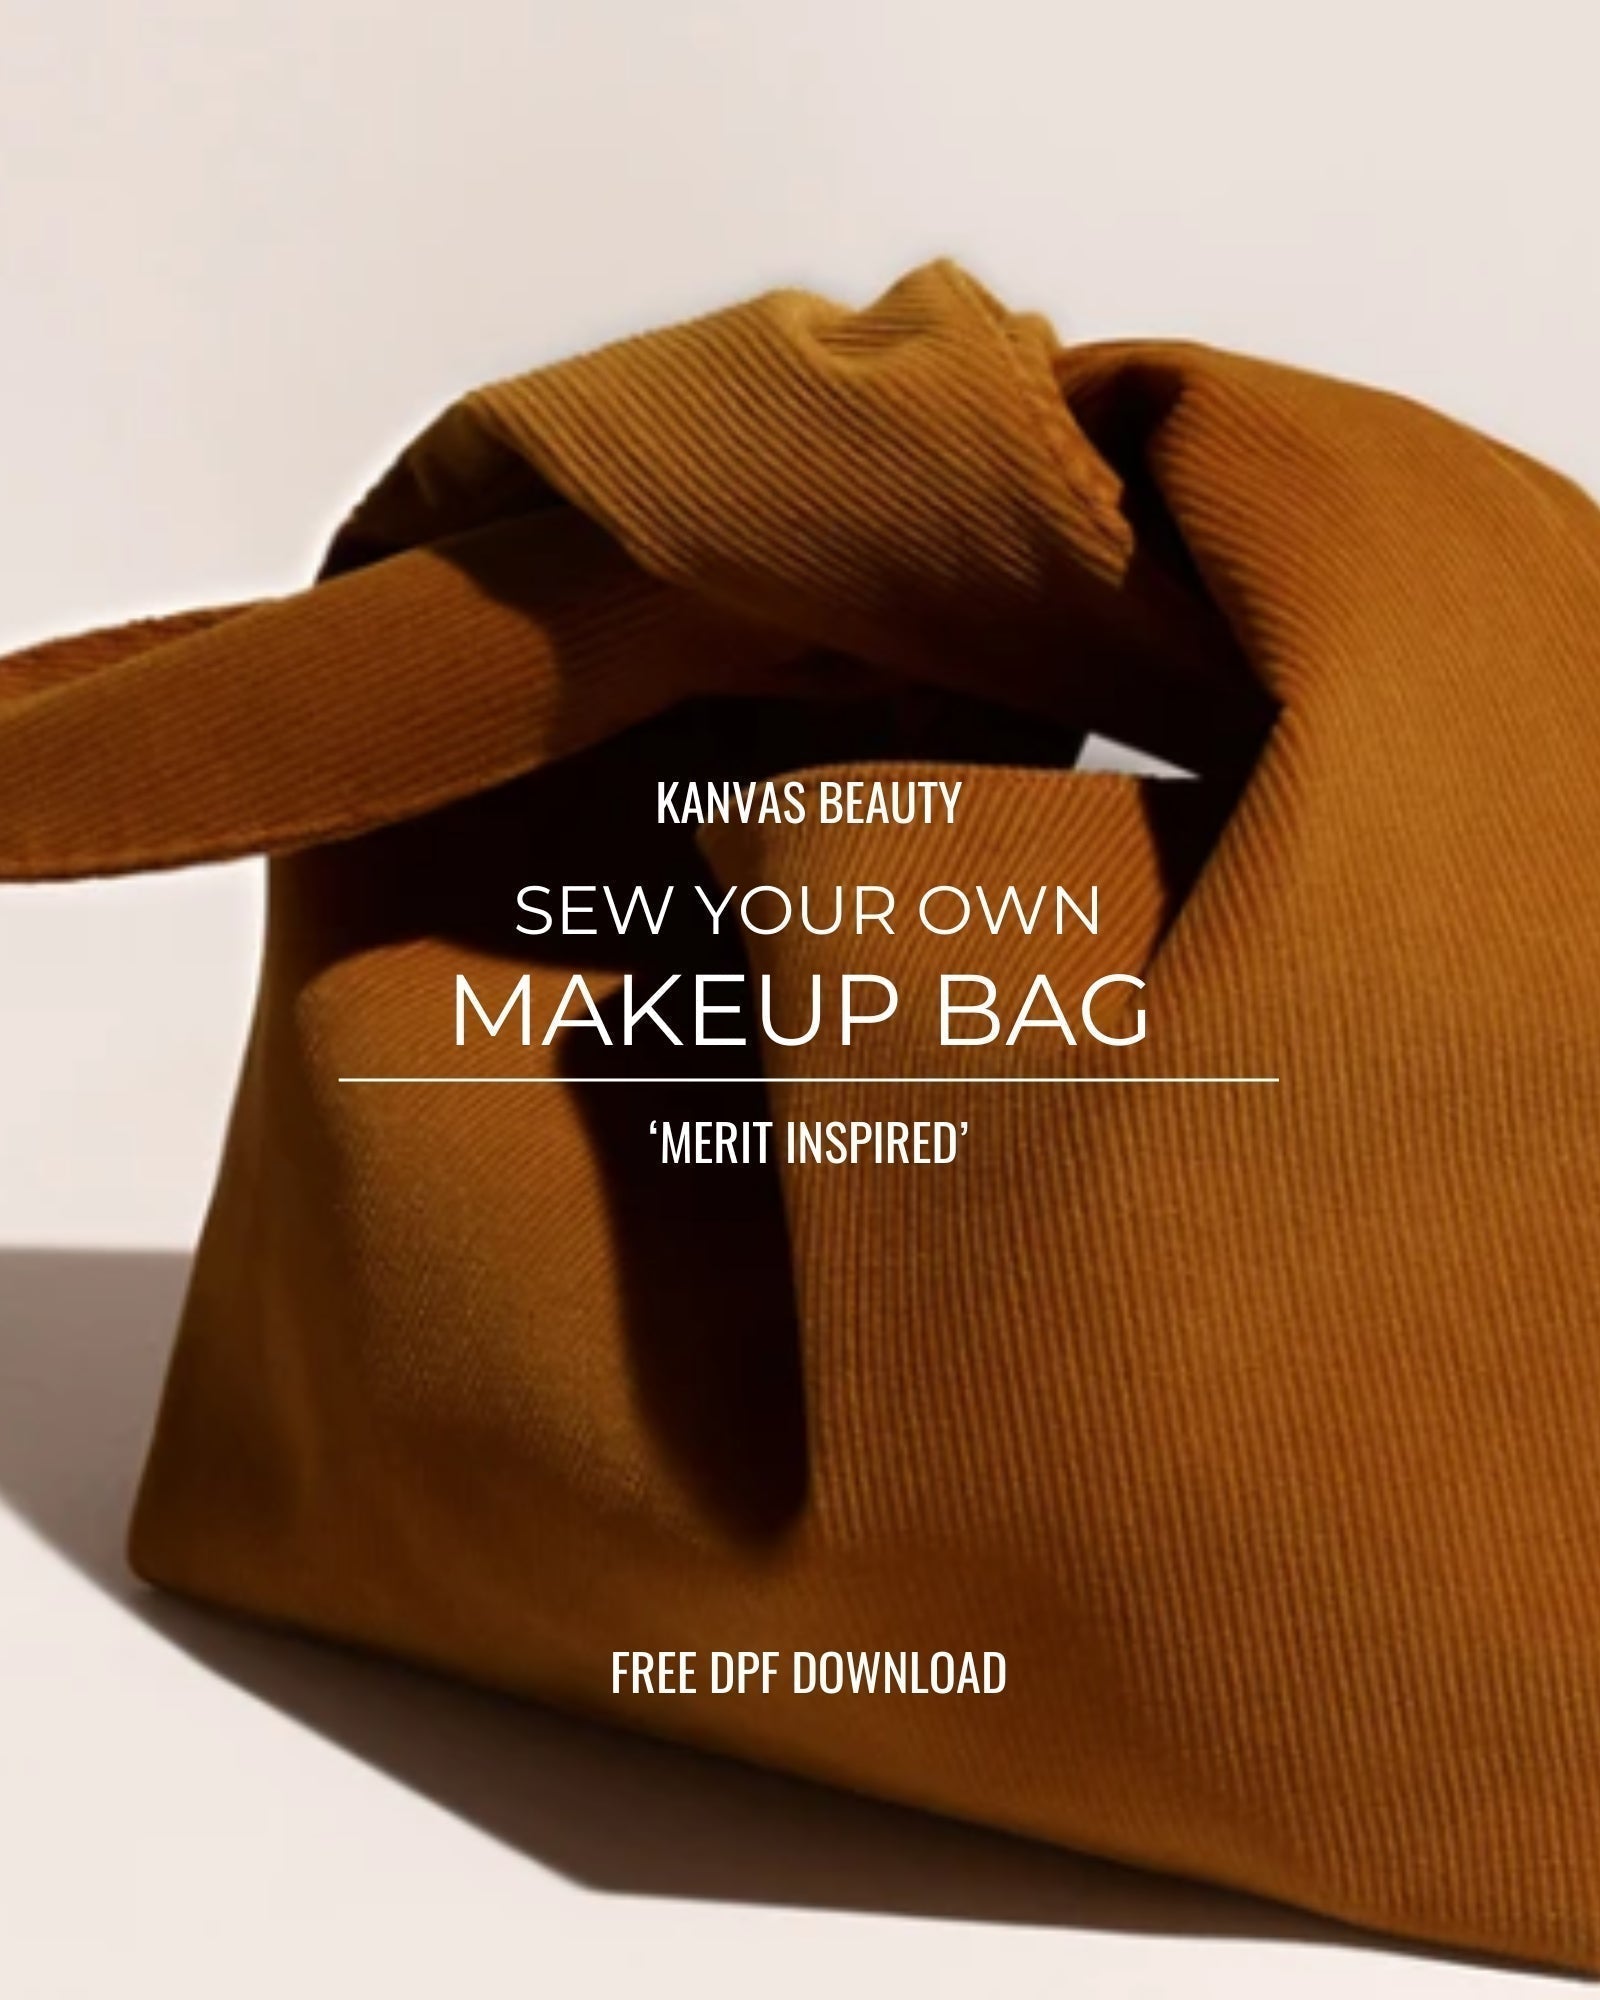

I’m thrilled to introduce the Kanvas Beauty Makeup Bag Sewing Pattern—a chic and functional accessory inspired by the viral Merit corduroy makeup bag! Designed with both style and practicality in mind, this bag is perfect for storing your everyday beauty essentials while adding a touch of modern elegance to your routine.
Featuring a structured yet soft design, this makeup bag boasts plush gathers that create a beautifully textured look, reminiscent of luxe corduroy. The roomy interior provides ample space for your favorite products, while the compact shape makes it an effortless companion for travel or daily use. The Kanvas Beauty Makeup Bag can be sewn in a variety of fabrics, from classic corduroy for a trendy, textured feel to smooth cotton or even faux leather for a sleek, polished look. Whether you’re crafting it as a personal keepsake or making thoughtful gifts, this beginner-friendly pattern is a satisfying project that comes together with just a 2 pieces!
Printing instructions:
For home printers, you can print this using either A4 or Letter paper. I carefully calculated the printing area so that you can use either type of paper to print the pattern perfectly. Always print the first page first and check with the test square to ensure you’re printing at the correct scale before printing the entire pattern—save ink, save paper, save the earth! 🌍
Some PCs may print smaller than the actual size even when set to 100% scale—I’m not sure why this happens, but for example, my HP laptop does not print true to size. I have to scale up to 103% to get the correct size. You may need to check if your printer is printing accurately; if not, try scaling up slightly. A reader also suggested printing the PDF as an image to achieve the correct scale, though I haven’t personally tested this method.
Tools & Materials
✔ Fabric of your choice – This pattern works beautifully with corduroy or any stylish woven or knit fabric for added flexibility.
✔ Scissors, pencil or fabric marker, ruler, pins
✔ Sewing machine/serger or needle and thread
✔ Printed pattern download here
Seam Allowance
✔ All seams: 5mm (1/2cm)
✔ Seam allowance has been included in the pattern pieces. Cut the pattern as is and use the above-mentioned seam allowance when constructing the bag.
Cutting Instructions
✔ Place the pattern pieces on the fabric and pin them in place securely.
✔ Using sharp scissors, carefully cut along the outer lines of the pattern to ensure precise and clean cuts, as this will affect the final fit and overall appearance.
✔ Mark all notches and design details (such as darts, pleats, or draw marks) from the pattern onto the fabric. These markings are essential to ensure all pieces align correctly when sewing.
✔ Pay close attention to notches—they must match up during assembly to achieve a professional finish.
Step 1: Cut Your Fabric
- Cut 2 pieces of fabric—1 main fabric, 1 lining (cut on the fold).
- If using a projector, you can use the available projector files.
Step 2: Sew the Side Seams
- Place fabric pieces right sides together.
- Sew the side seams using a 1 cm seam allowance, backstitching at the start and end.
- Repeat for both the main fabric and lining.
Step 3: Create Box Corners
- With fabric still wrong side out, pull the fabric apart at the bottom corners to align the side seam in the center.
- Measure 5 cm up from the point, mark a straight line, and sew across.
- Repeat for both the main fabric and lining.
- Trim excess fabric to reduce bulk.
Step 4: Sew the Bag Together
- Turn the lining right side out.
- Place the lining inside the main fabric (right sides together).
- Align seams and clip around the edges, leaving a 6 cm opening for turning.
- Sew around the top edge, ensuring not to close the opening.
Step 5: Turn the Bag Right Side Out
- Carefully pull the bag through the opening.
- Push out corners and tuck the lining inside.
Step 6: Close the Opening & Finish
- Close the opening using topstitching around the edge or a ladder stitch.
- Give the bag a final press, and you're done!
Your makeup bag is ready to use! 🎉
Leave a comment
Comments will be approved before showing up.
Also in Kanvas Kult Blog
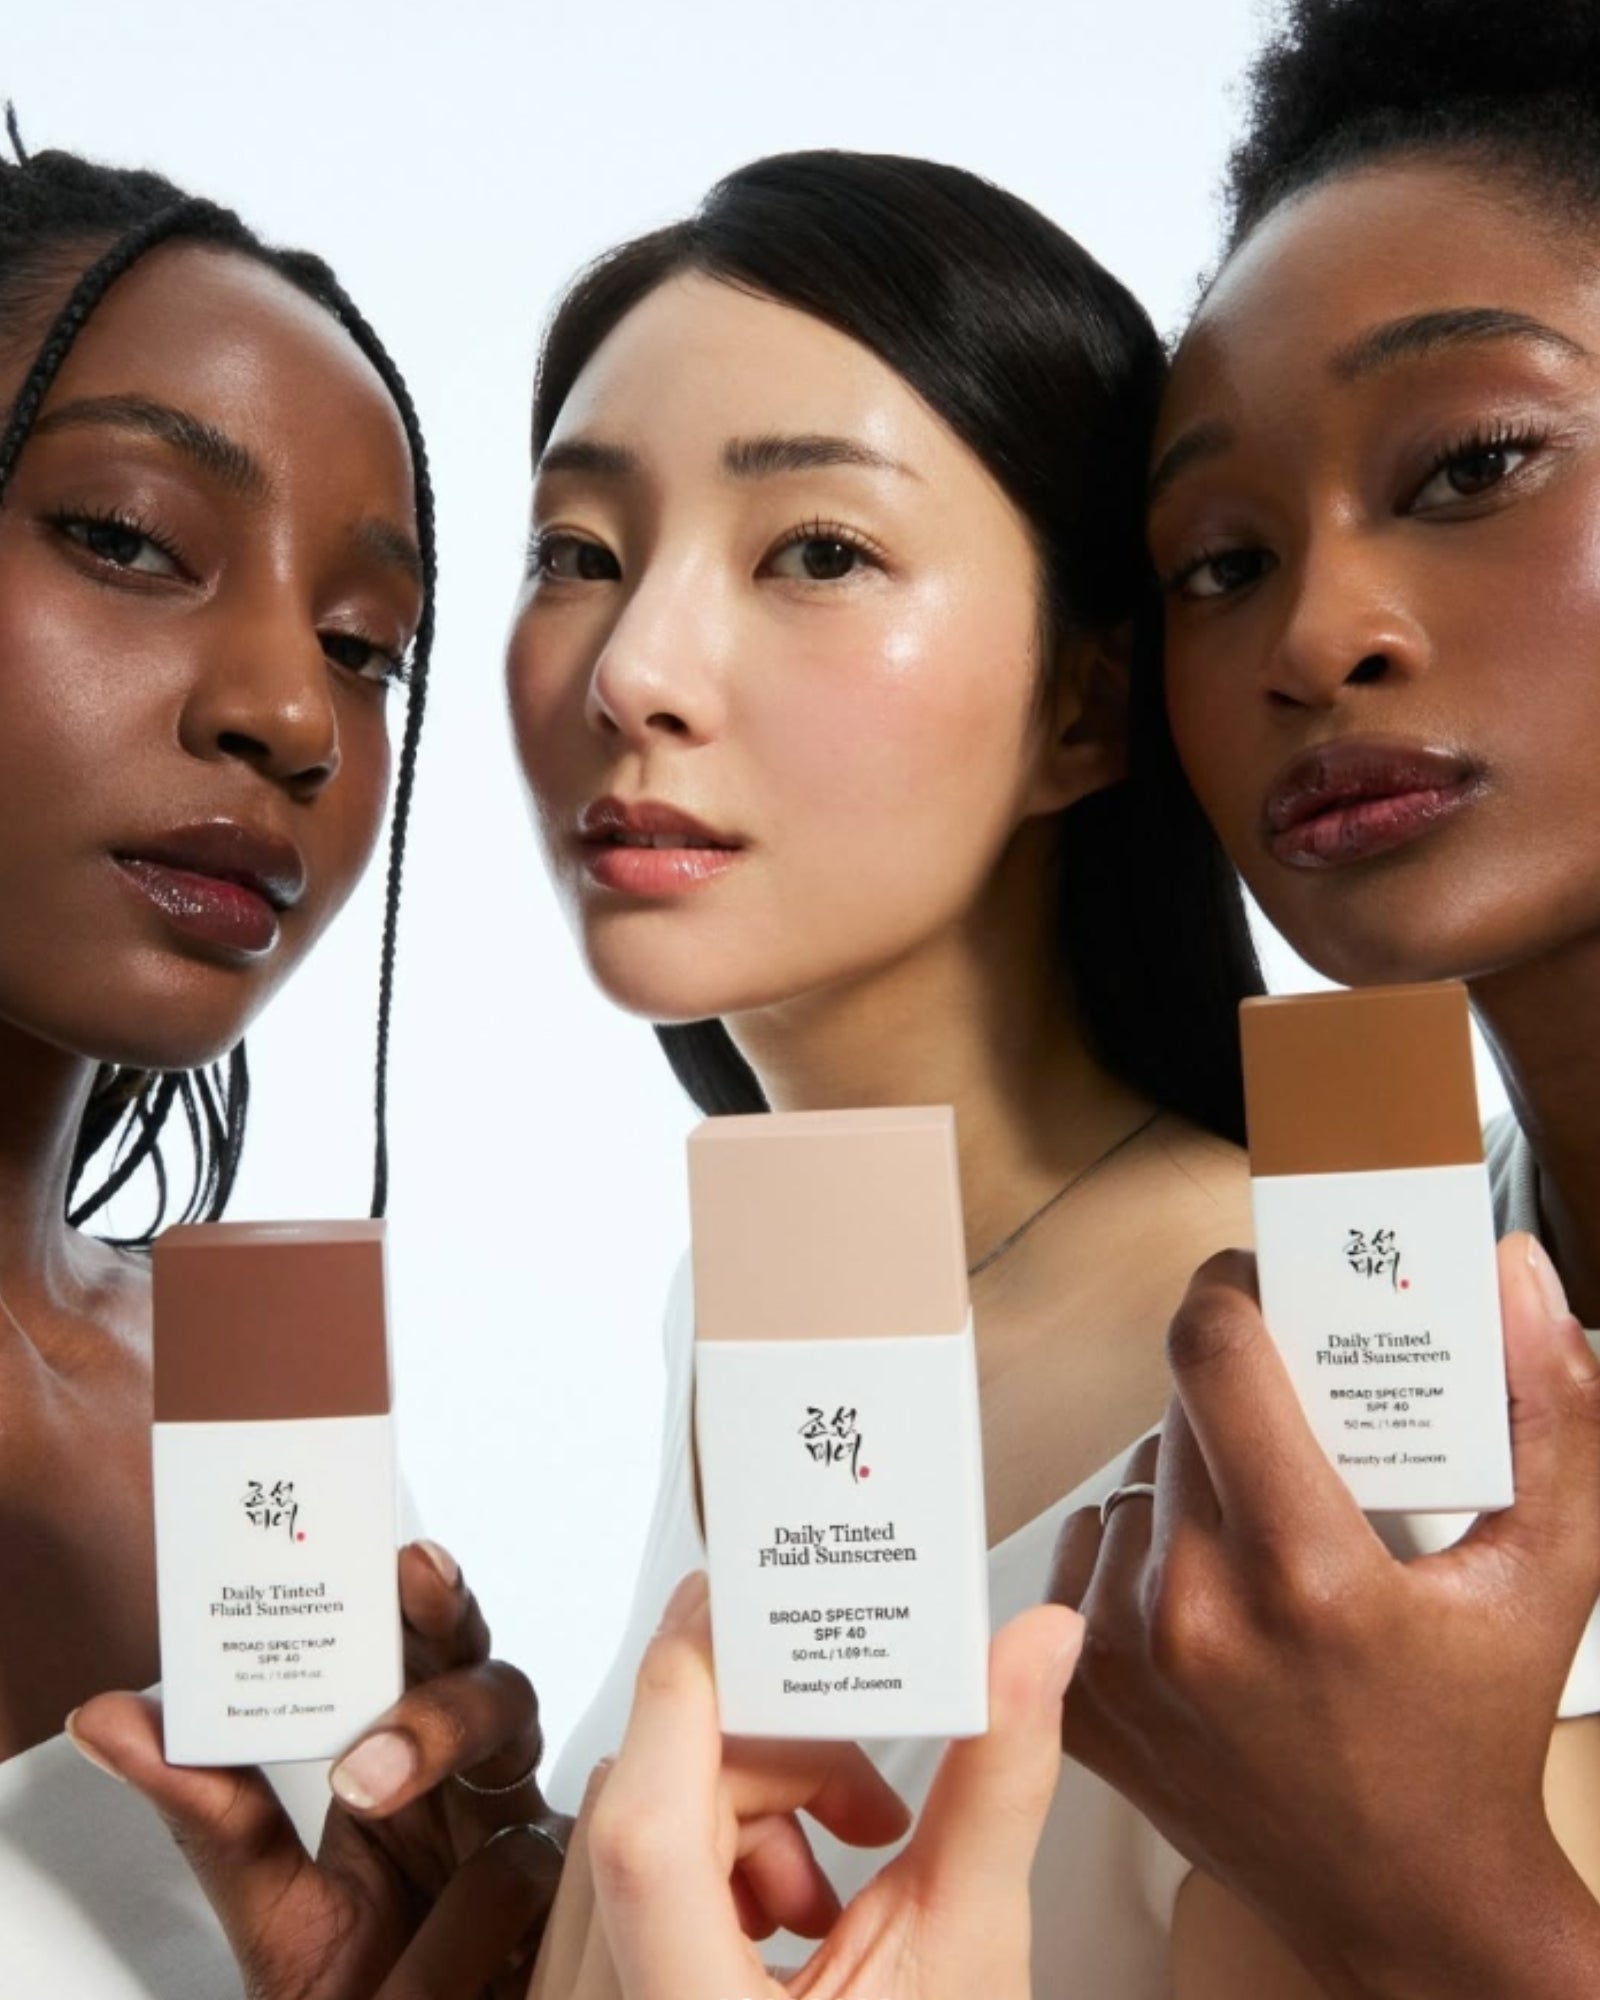

Beauty of Joseon Daily Tinted Fluid Sunscreen Review
Our honest Beauty of Joseon Daily Tinted Fluid Sunscreen Review.
Shields like SPF, looks like tint, feels like skincare. That's the tagline of Beauty of Joseon's new Skin Tints and ahhh it sounds so good! We were lucky enough to receive promotional samples from the brand, and here's what we thought (TDLR; it's freaking amazing and we can't wait to stock it).
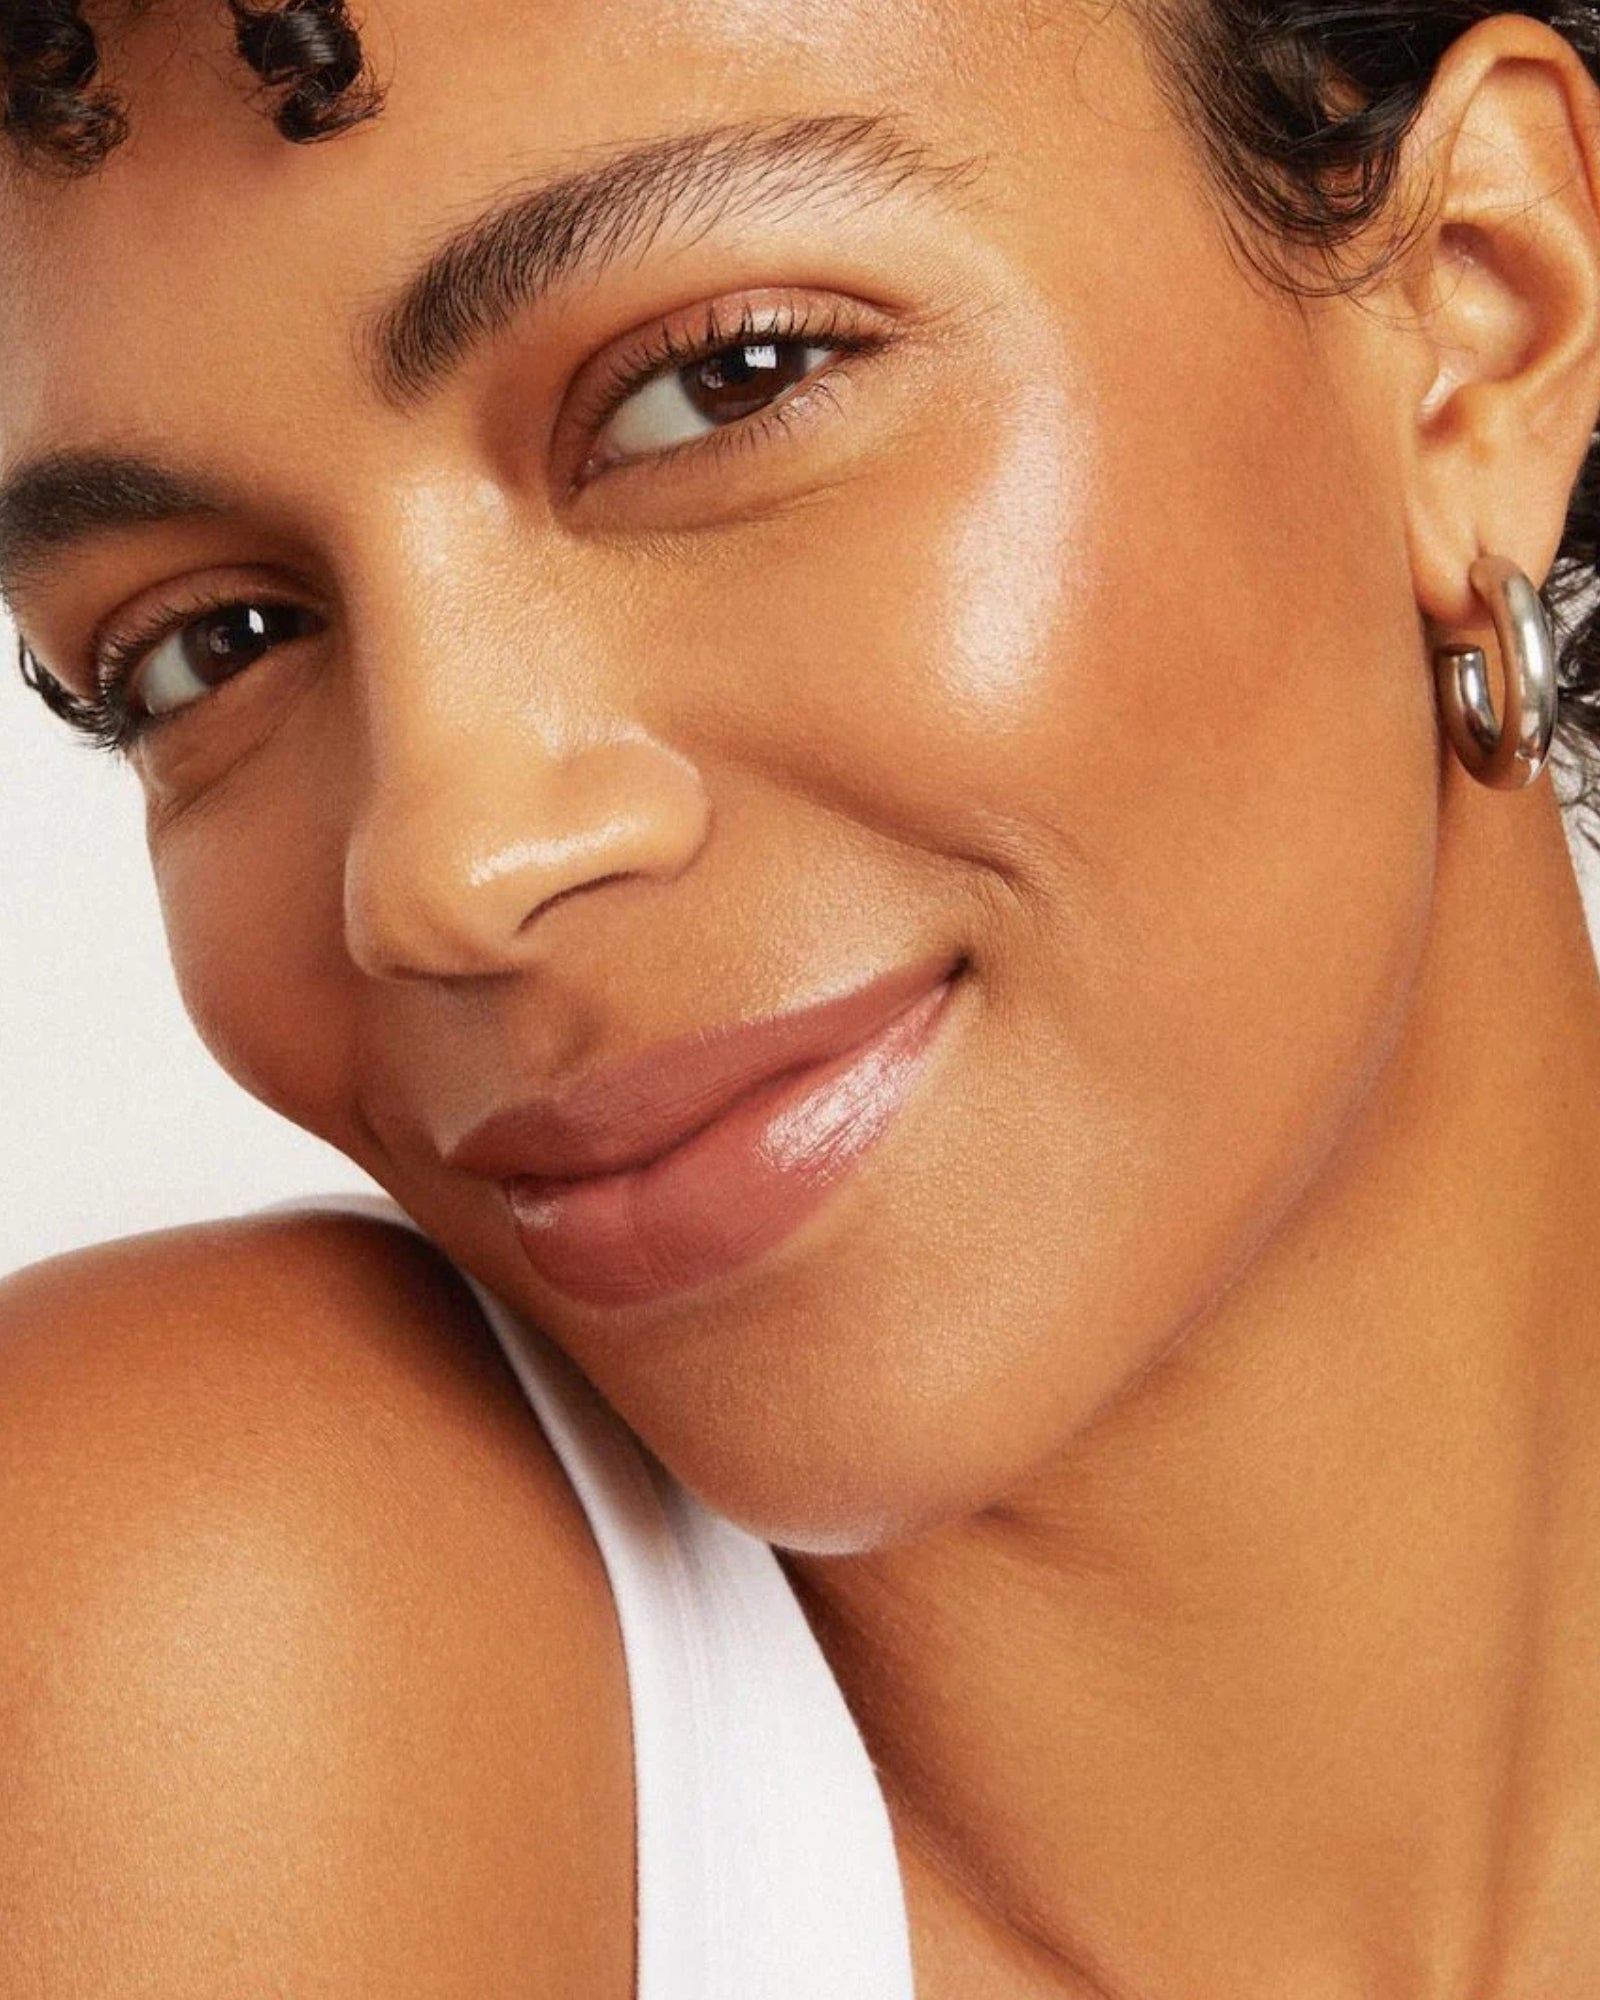

My Axiology Fungdation Review (with swatches)
An honest Axiology Foundation Review.
We saw the promo for Axiology's new mushroom-infused foundation. It's called Fungdation and it looked so good! Kellie couldn't wait to try it. Here's what she thought, as well as pics on how it looks on the skin. TLDR; it isn't for everyone, but which foundation is? If your skin type and texture preference matches the Fungdation profile, you'll never look back.
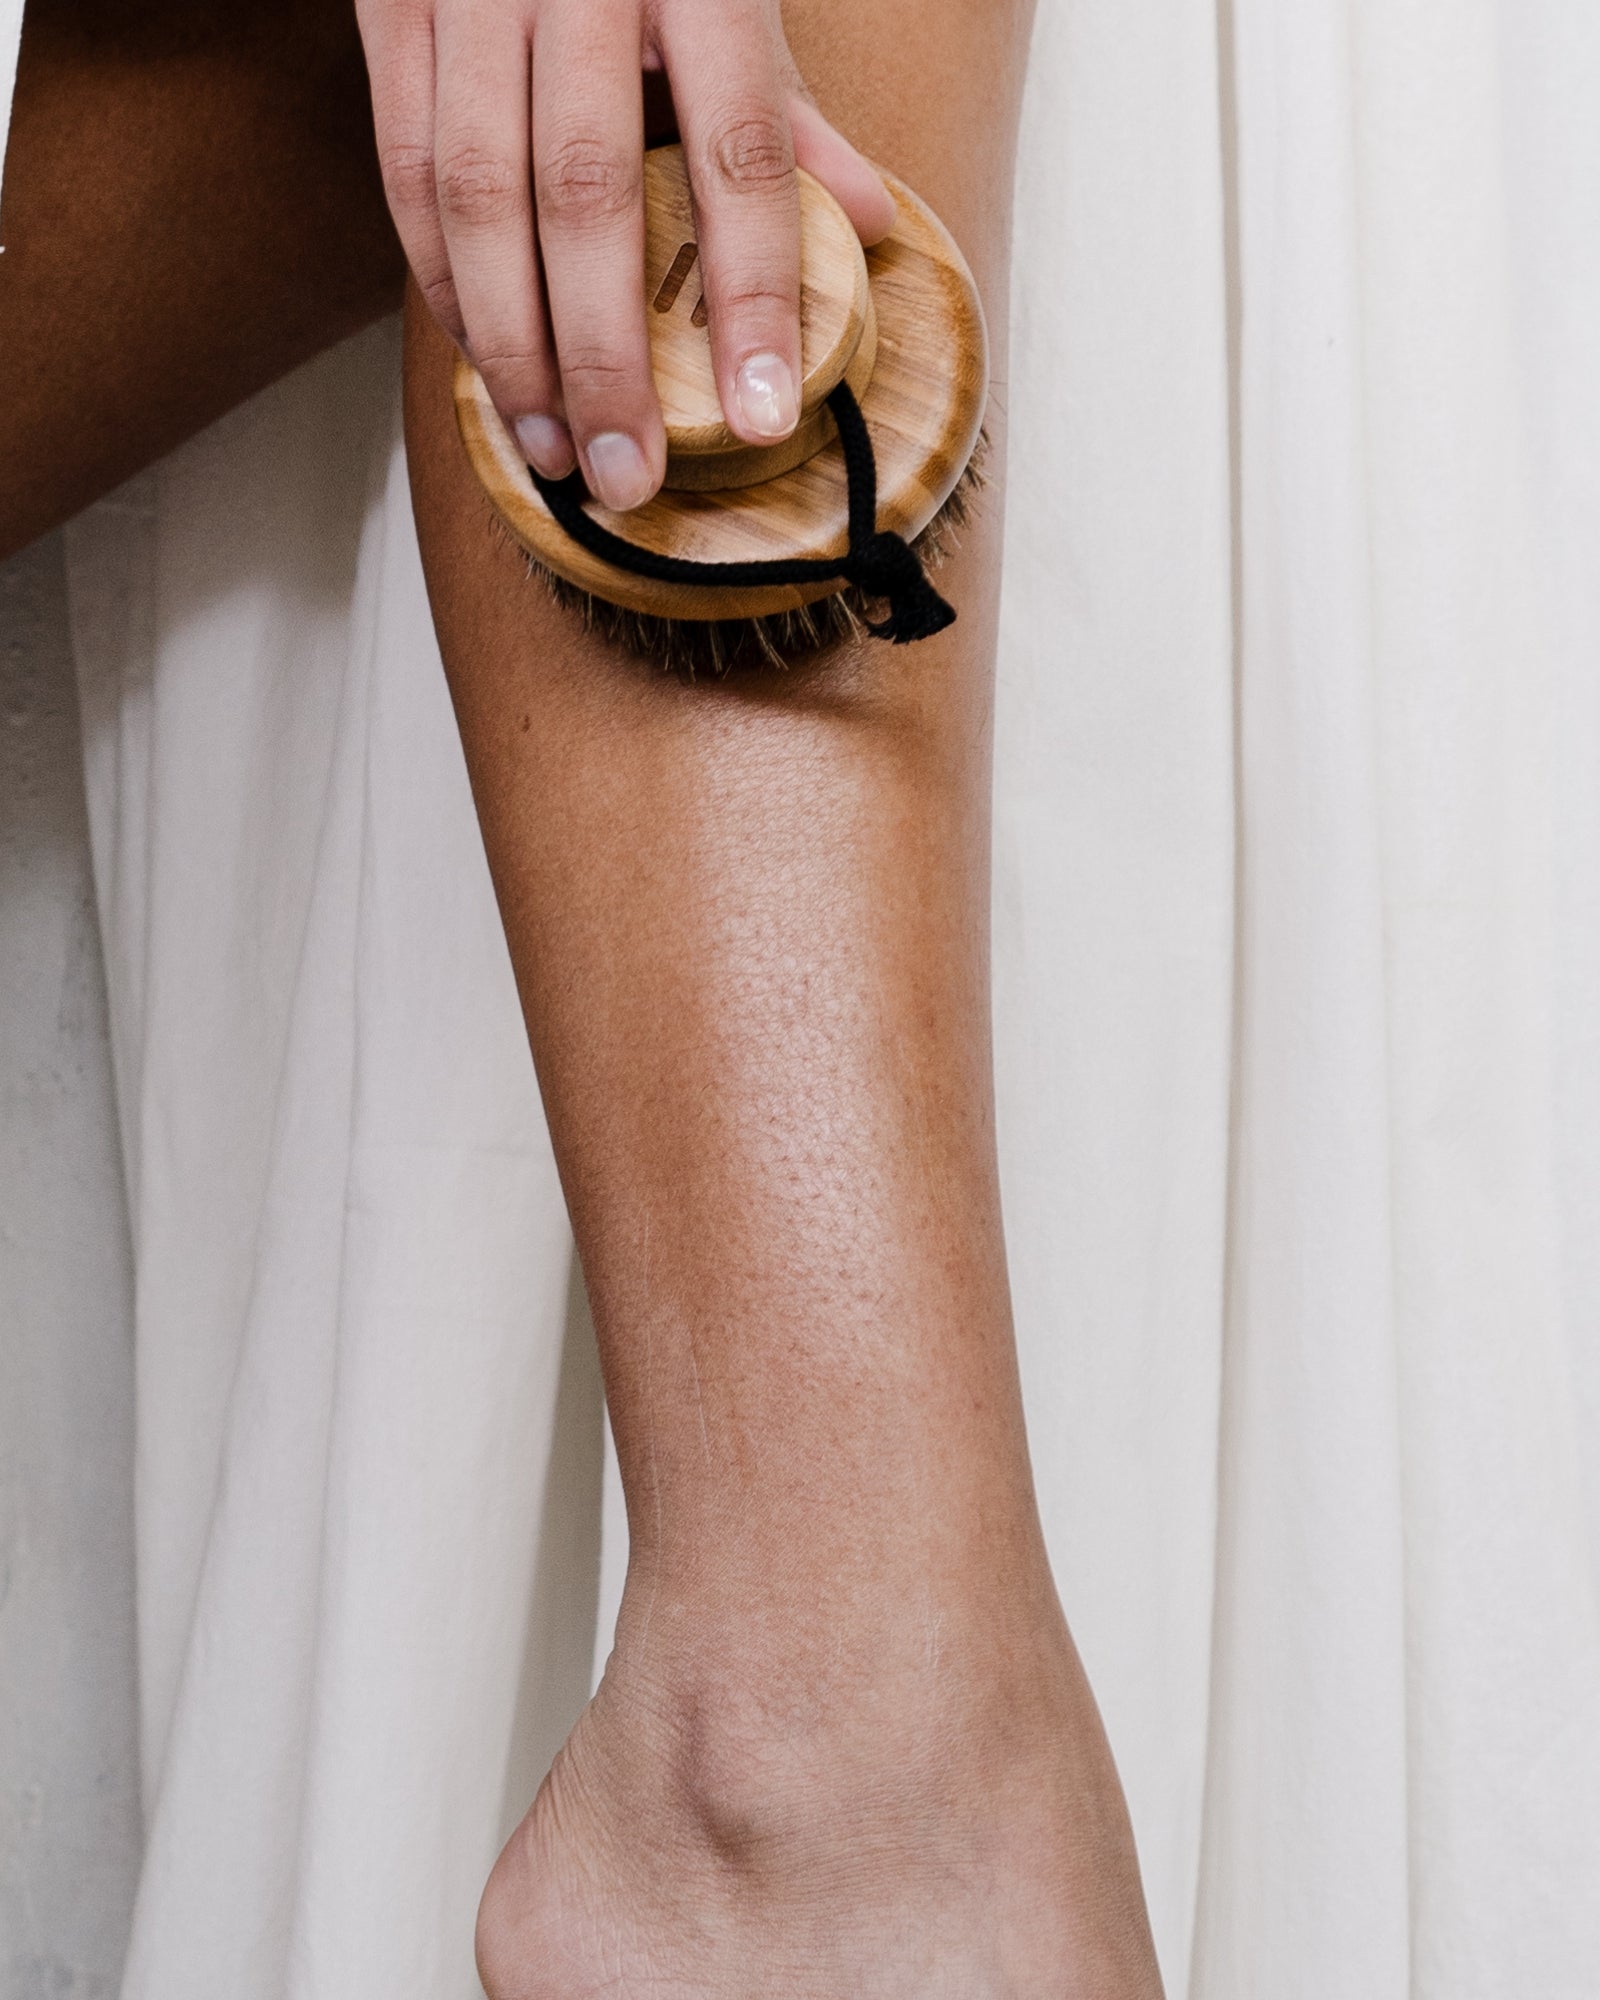

How to get rid of Strawberry Skin on legs
Got Strawberry Skin on your arms and legs?
Harmless but annoying, 'strawberry skin' usually arises after shaving or some form of hair removal that exposes the hair follicle or a clogged pore to oxidization (thereby turning it dark). It could also be an excess buildup of skin or keratin around the hair follicle (i.e. keratosis pilaris).Honing in on what triggers it for you is the key to preventing it in the future - along with the right skincare routine.